When all components were delivered, it was time to put them all together. The effort I spent writing custom references for all components, at the time of ordering, was well worth it. Now each bag of components like resistors, capacitors and trimpotmeters was labeled with the correct reference name for the project (R1, R2, C1, U1, etc..).

My two friends were armed with a soldering iron, and I was providing them the ammunition in the form of electronic components.

Here we are soldering the 14 pin female headers for the Teensy 3.2.
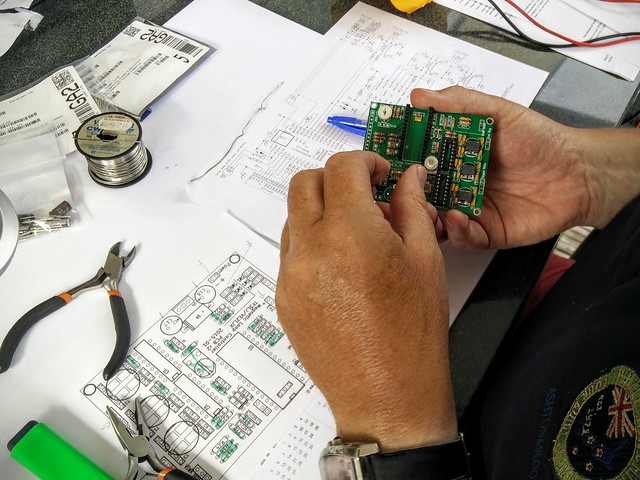

Check twice, solder once. Each component that was soldered to the PCB was checked. We had to be sure all values were correct and within the tolerance. It might seem like a bit of overkill, but faulty components do exist. One project almost failed because of a faulty resistor. If we didn’t check it upfront, we would have lost a lot of time debugging our project.
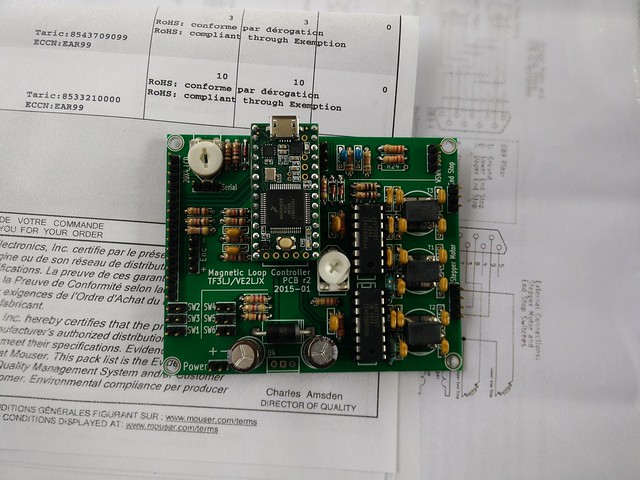
The finished product of the day. We made 3 of these PCB’s in 4 hours time. That’s definitely not a speed record, but when you are having fun with friends, who cares about the time.