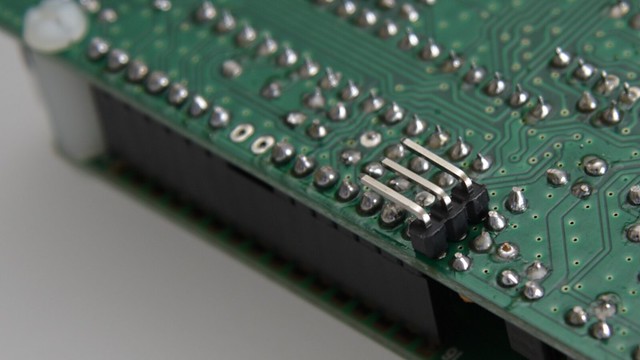
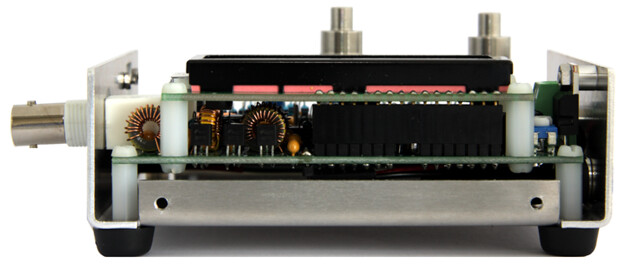
Since PCB revision 5, a cat port has been incorporated on the PCB. As it’s already a tight fit, I mounted angled pin headers on the underside of the PCB.

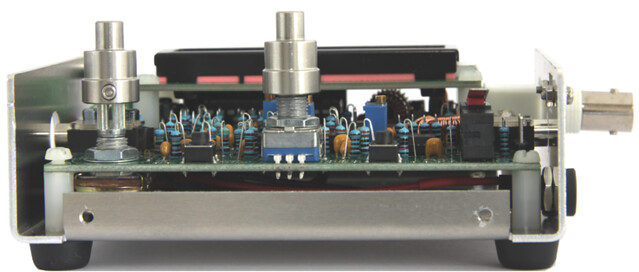
The BaMaTech enclosure was not yet featured with an opening for the cat port. I had to drill a new hole to fit a 3.5mm stereo socket.
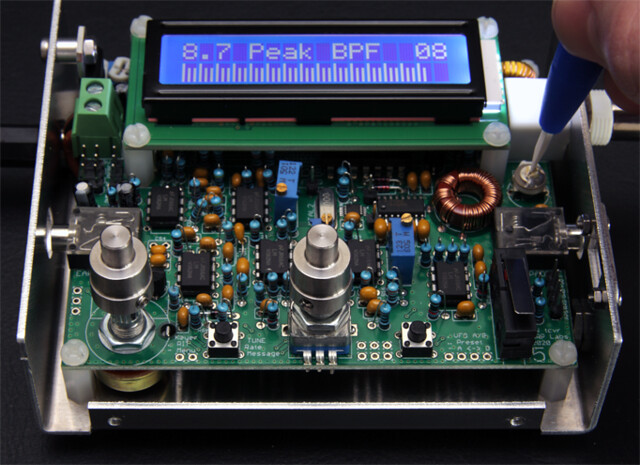
Now that everything is fitted in the enclosure, it’s time to do the final alignment of the QCX. I’m not going to elaborate on this, everything is described in detail in the manual. Just make sure you use a non-conductive anti-static tool when you do this.
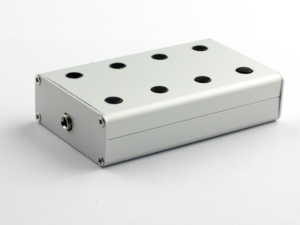
Below you can admire the finished result 😉

Top view with custom splash screen.
Front view.
Back view.

Right side, with added cat port on the bottom left.
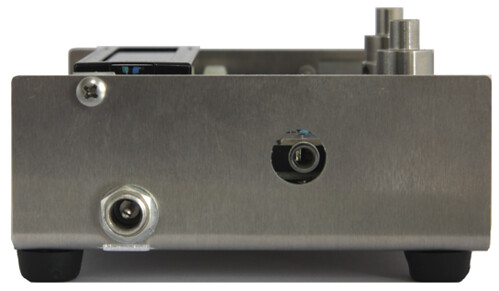
Left side.