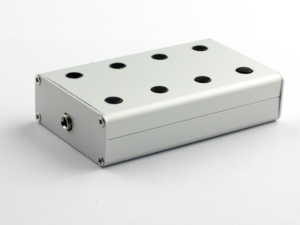
To power up a QCX or a QCX+, you need a power source that provides a voltage between 7 and 16 volts. For a QCX mini, the power supply should be 14 volts maximum. Because this power supply range is so wide, there is also a range of possibilities for powering your QCX transceiver. Ranging from a simple 9V battery, a ready-made battery pack to a converted laptop battery.
Because AA batteries are cheap and widely available (both disposable and rechargeable), this became my first option. My second option was to build my own battery pack with 18650 Lithium batteries, because of their higher voltage and the possibility to deliver more current. The QCX’s may be a range of QRP transceivers, the power emitted is directly proportional to the power supplied. And sometimes you want just that little bit more 😉
AA Battery Pack
This is a very simple solution. Just buy the 8 x AA battery clip and solder a 5.5mm barrel connector to the end of the wire leads and you are done. The number stickers on the batteries are there for me to remember which battery pair belongs together. I always keep a battery pair together, both during use and when charging. Charging is done with a GP Powerbank Rapid 2.
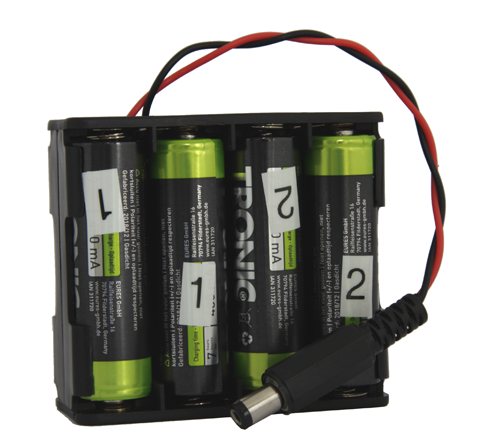
When these batteries are fully charged, they can deliver approximately 1.3 v of voltage. All 8 together thus provide an input of 10.4 v. This falls roughly in the middle of the suggested voltage range.
AA Battery Pack Part List:
18650 Battery Pack
A little more work went into building this battery pack. Inserting the batteries into the holder may be quick, but you have to decide whether you want to connect the batteries in series or in parallel. For our application, we want to connect them in series.
Just like with the AA batteries, these batteries need to be chaged in a balanced way. As I cant remove the batteries from the pack when it’s built, we’ll have to add extra leads to be able to do so. Because the battery will be charged with a Turnigy Accucel battery charger, I didn’t foresee any additional BMS on the battery pack itself, only the leads.
To avoid short-circuit, you must not leave any contacts exposed. As I don’t have any shrink tubing in the size I used electrical insulation tape. Not exactly an aesthetically pleasing solution, but it does the job.
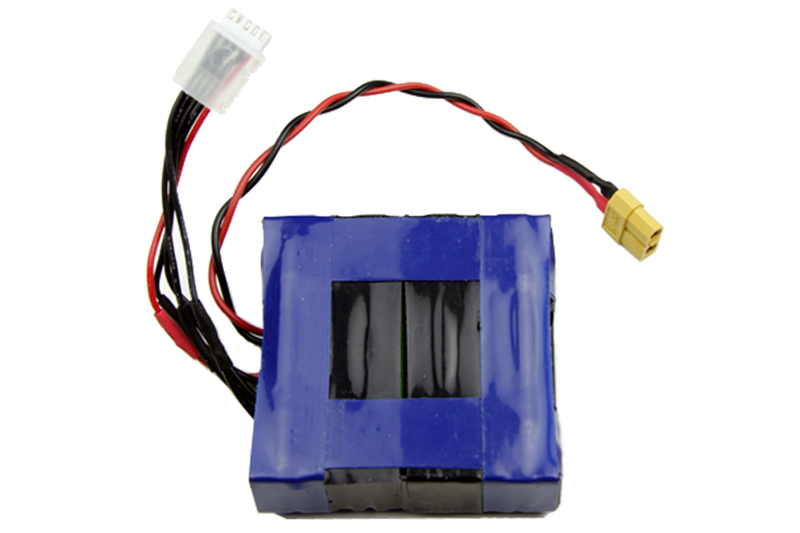
18650 batteries deliver 3.7v. Fully charged, they can even peak at 4.2v for a while. That 3.7v is not a problem. 4 x 18650 batteries in series will then deliver 14.8v, which is still 1.2v below the upper limit of the QCX’s voltage range (but already too high for the QCX mini).

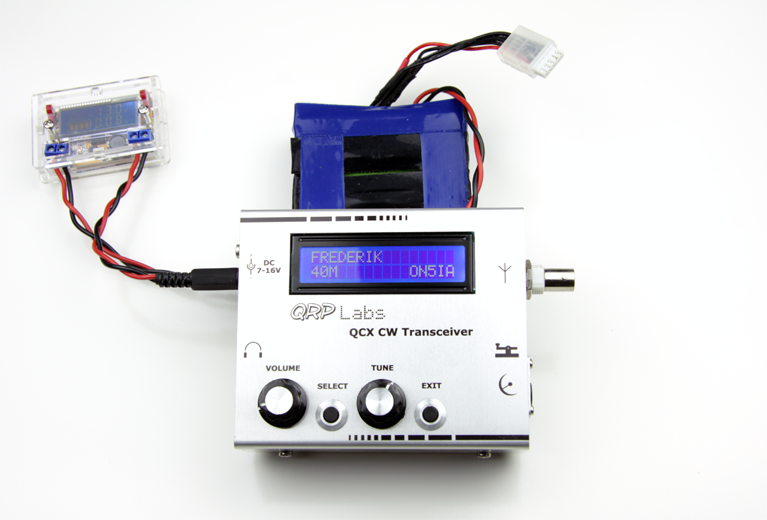
4 x 4.2v (16.8v) on the other hand can be a problem. To be on the safe side I decided to use a DC to DC voltage step down converter and place it between the battery pack and the QCX. It can handle an input voltage of 0 to 23 volts and can be set to step down between 0 and 16.5v. For the application with the QCX I set it to 13.0v. The maximum current the step down converter can handle is 3.0A, more than sufficient for the QCX.
18650 Lithium Parts list: