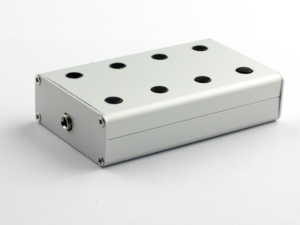
For my first QCX, a 40m version, I ordered an ready made enclosure from BaMaTech. For my second QCX, a 20m version, I decided to make the enclosure myself. The aluminium box was found on AliExpress and has the following dimensions: 119.5 mm x 94.5 mm x 37.5 mm, slightly bigger (in height) than the Hammond 1590BB.
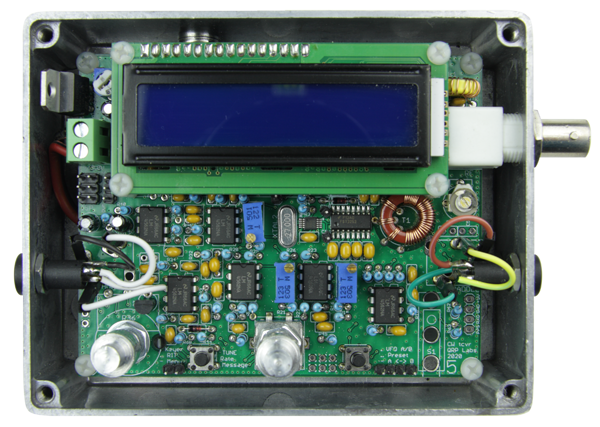
The QCX fits nicely in the enclosure. Only the 3.5mm sockets and two push buttons neede to be mounted “off board”. I choose to not solder them permanently on the PCB but by using pin headers. In order for everything to fit neatly, these pins had to be bent. There is just enough thread on the bnc connector to place the QCX centrally in the box and still screw the bnc connector firmly in place.

As the volume knob and the rotary encoder do not have the same hight, you have to mount them off board if you want to make them fit in the enclosure. Another option is to foresee extention shafts so you can align them with the top of the enclosure. This was how it was done by BaMaTech for their QCX enclosure. As I coun’t find these extention shafts online, I asked a friend to make me this. I made some measurements and not much later, my friend told me I could come over and pick them up

They were a perfect fit and the enclosure could be finished.
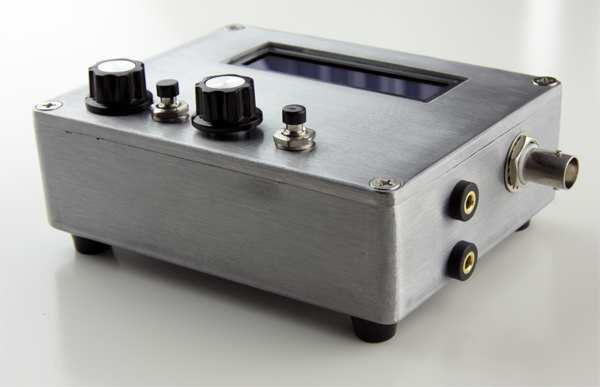
I choose for 3.5mm jacks to connect the keyer and the cat interface. The pushbuttons are 7mm momentary switches. To make them fit in the enclosure, without touching the PCB I had to bend the tabs 90°. They are attached to the PCB with a short cable and a dupont connector.
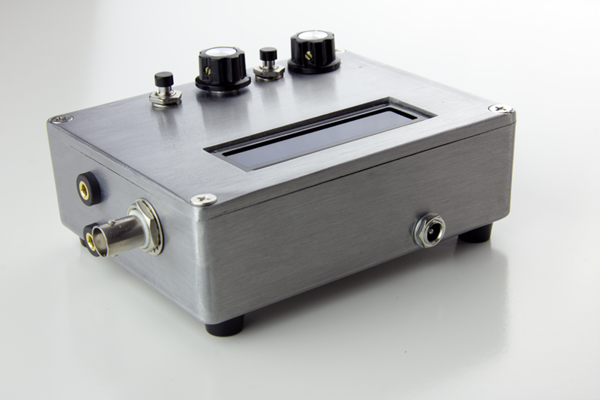
On the back I mounted the power supply socket.
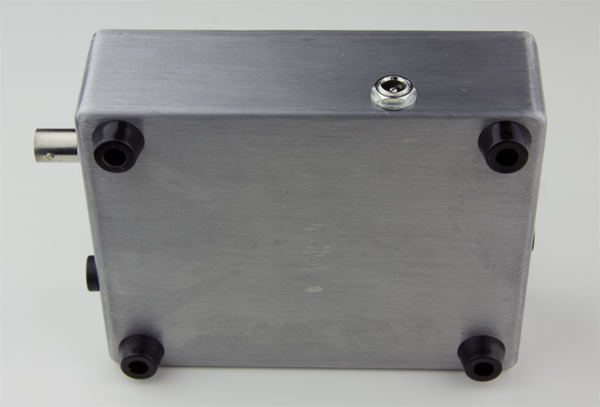
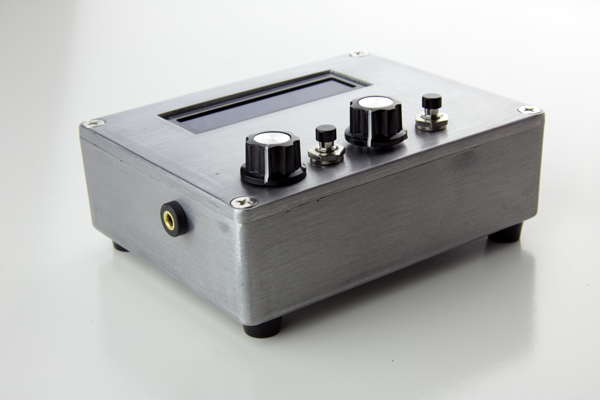
And to finish, I added 4 rubber feet on the bottom. The only thing missing from this box is proper lettering. I don’t like those labels you can print with a lable printer, but I don’t want to spend a fortune on custom-made stickers either. So, for the moment, I’m doing it without stickers. There is not much that can go wrong if you push a wrong button, or plug in a the keyer in the wrong hole. There is a maker lab in the neighbourhood, and they have a laser engraving machine. Maybe I’ll give them a visit when this Covid-19 pandemic is over.

Hello Frederik,
Helaas is de originele qcx niet meer te verkrijgen. Heb je de gegevens voor de bestelling van het kastje?
Mijn kit ligt nog te wachten om te monteren sedert 2017…
Groeten, ON4CLQ, Patrick
Dag Patrick,
Hier kan je alvast een nieuwe link vinden naar een gelijkaardig doosje: https://s.click.aliexpress.com/e/_DFLY5Kh
73 de ON5IA