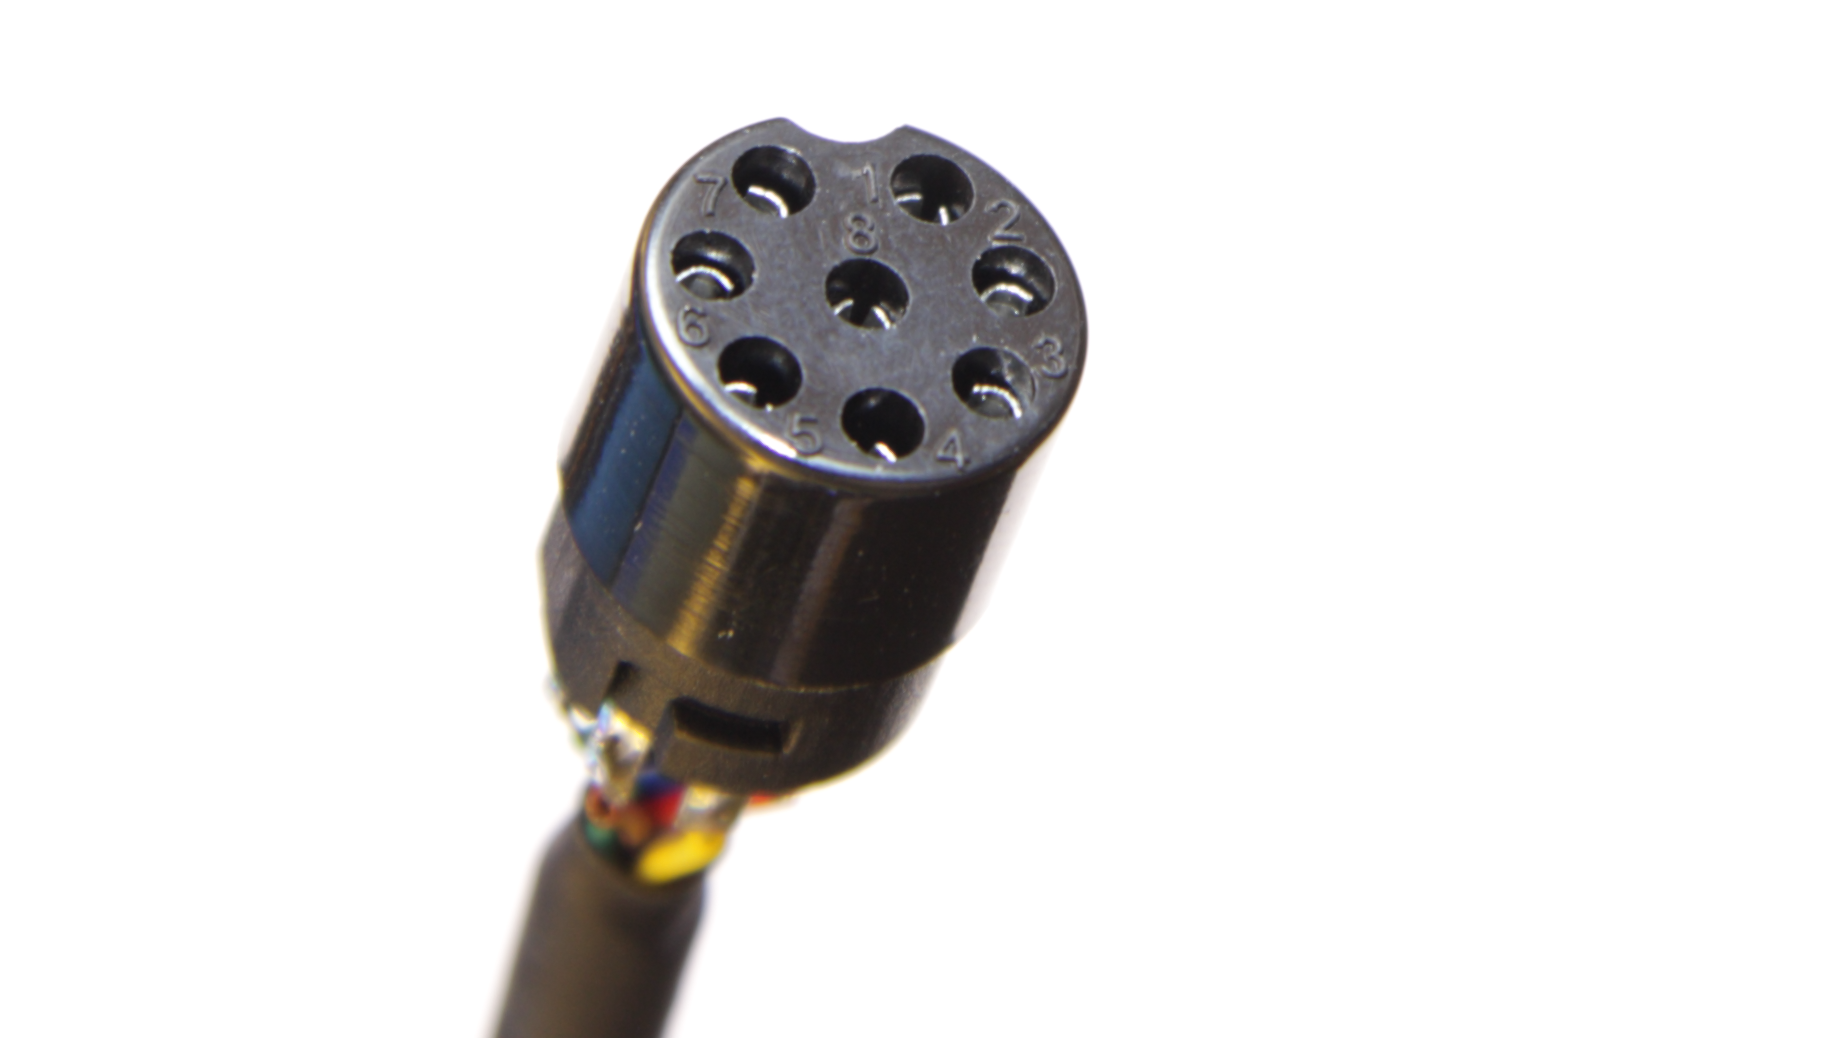
To connect the external keypad to your Icom radio you’ll need to make a connector cable. For this we use GX-16 8 pin connectors and some multistrand cable. Here I’m using a 8 strand cable and both the male and female part of the GX-16 connector.

Color code
As long as you connect each pin of the connecter to its respective pin on the keypad, you are good to go. It’s not an issue if the color code of you cable is not the same.
I opened the connector of my HM-219 mic and copied Icom’s color code:
- Mic input = white
- 8 V = orange (not in use in the HM-219 mic)
- Frequency up and down = red
- Squelch = yellow (not in use in the HM-219 mic)
- PTT = brown
- PTT Ground = green
- Mic Ground = black
- AF Output = blue
8 Pin Screw Terminal (Version 1.00)

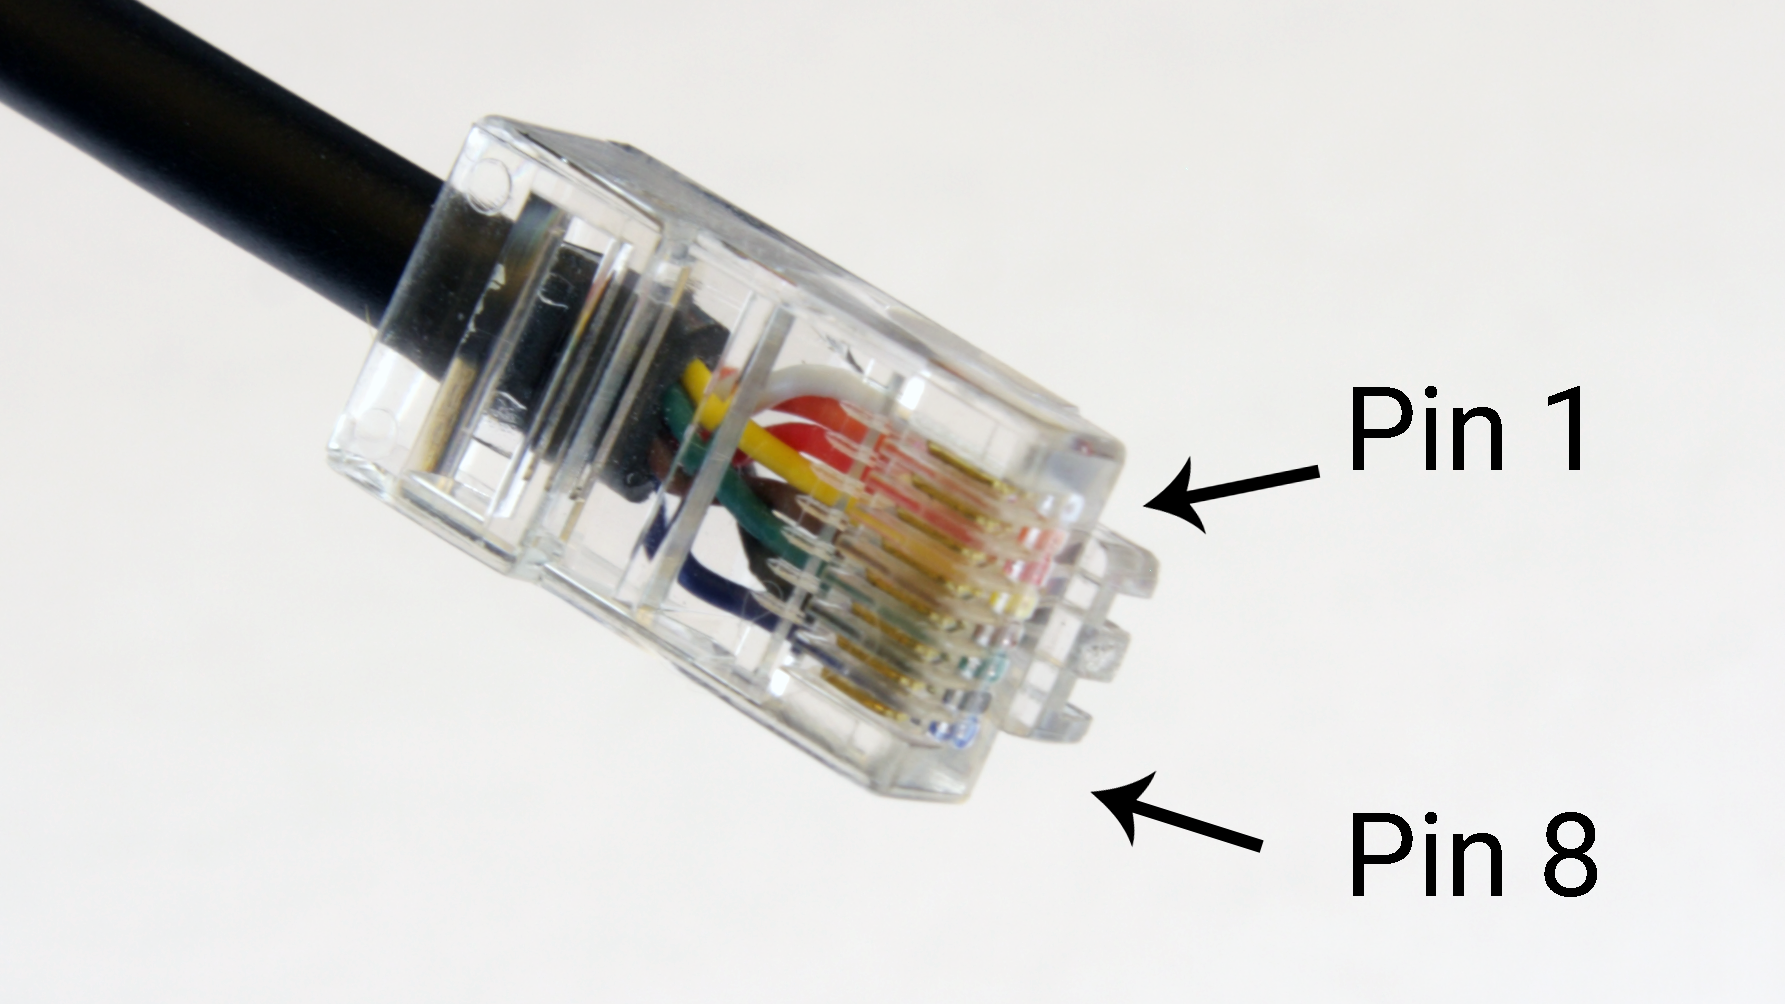
RJ45 – 8P8C (Versions as of 1.20)
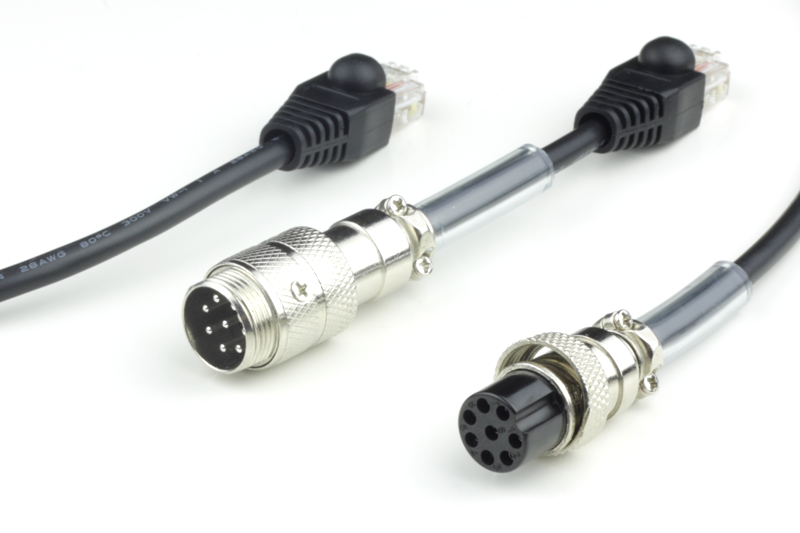
Finished Connector Cable
To give the cable a professional finished look I used some transparent tubing as strain releave, just as Icom does for it’s microphones.
On the other end, the RJ45 connectors are protected by black RJ45 strain reliefs.
Part List
- GX-16 8 pin connectors
- RJ45 connector
- RJ45 strain relief
- 28 AWG 8 core cable
- transparent tube (4,8mm inner diameter)
- Tool used: RJ45 crimper tool
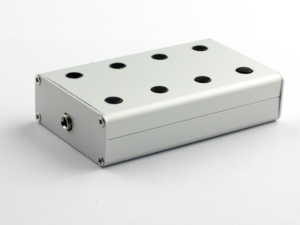

I really like the screw terminals on the button board, enabling it to be used for a round mic, or a DIN mic, or let the user move it from radio to radio if they sell one off and get a different one, just by releasing one set of wires and connecting a different set of wires.
It’s true the screw terminal is more versatile, however, since there is no stress releaf for the cables, this is a delicate solution.
That’s why I replaced them with RJ45 sockets.
Hello world! I am using an IC-9700 and wonder if there is something I should know and consider in order to avoid mistakes during this small DIY project? vy73/55, Tom DL1HBT
Hi Tom, you need to know if the microphone you are going to use needs 8V or not.
Let me know if you need more help.
73 de ON5IA