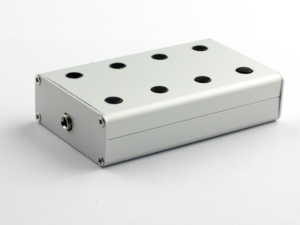
Manufacturing an Icom External Keypad with PCBWay
Disclosure: PCBWay sponsored the manufacturing of the PCBs used in this project. They had no editorial control over this article. All opinions are my own, based on hands-on use.
In the radio amateur and maker community, ideas only start to matter once they become real, working hardware. Schematics and PCB layouts are a big part of the job, but without predictable manufacturing, even a neat design stays stuck on the screen. That was very clear in my latest build, an Icom External Keypad project: a small, practical add-on meant to be used with Icom transceivers in day-to-day operating.
I am an active member of the Belgian radio amateur community. Over the past months, I used this project as a hands-on example while speaking about KiCad at several events and club evenings. The nice thing about bringing a real board is that people immediately ask the right questions. They look at the silkscreen, check the solder mask alignment, and want to know what they should watch out for when ordering their own boards.
For that to work, I needed more than a single prototype. I needed a batch of consistent PCBs that I could put in people’s hands, confident they would all look and behave the same. For this run, the boards were manufactured by PCBWay.
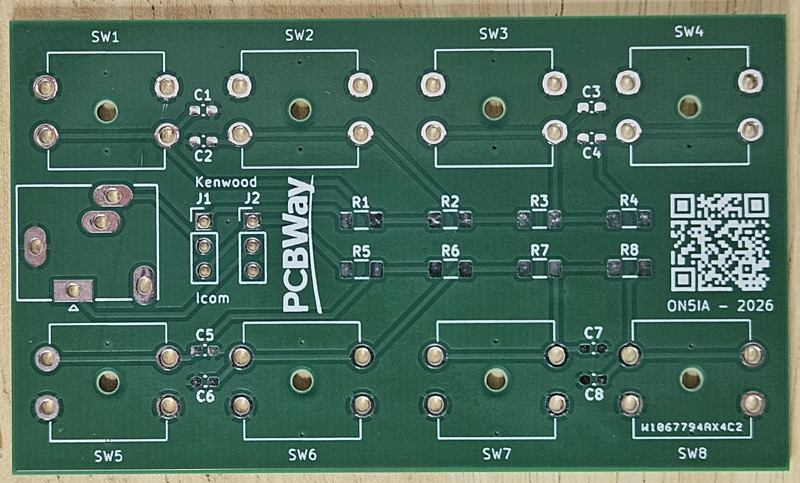
KiCad design is only half the story
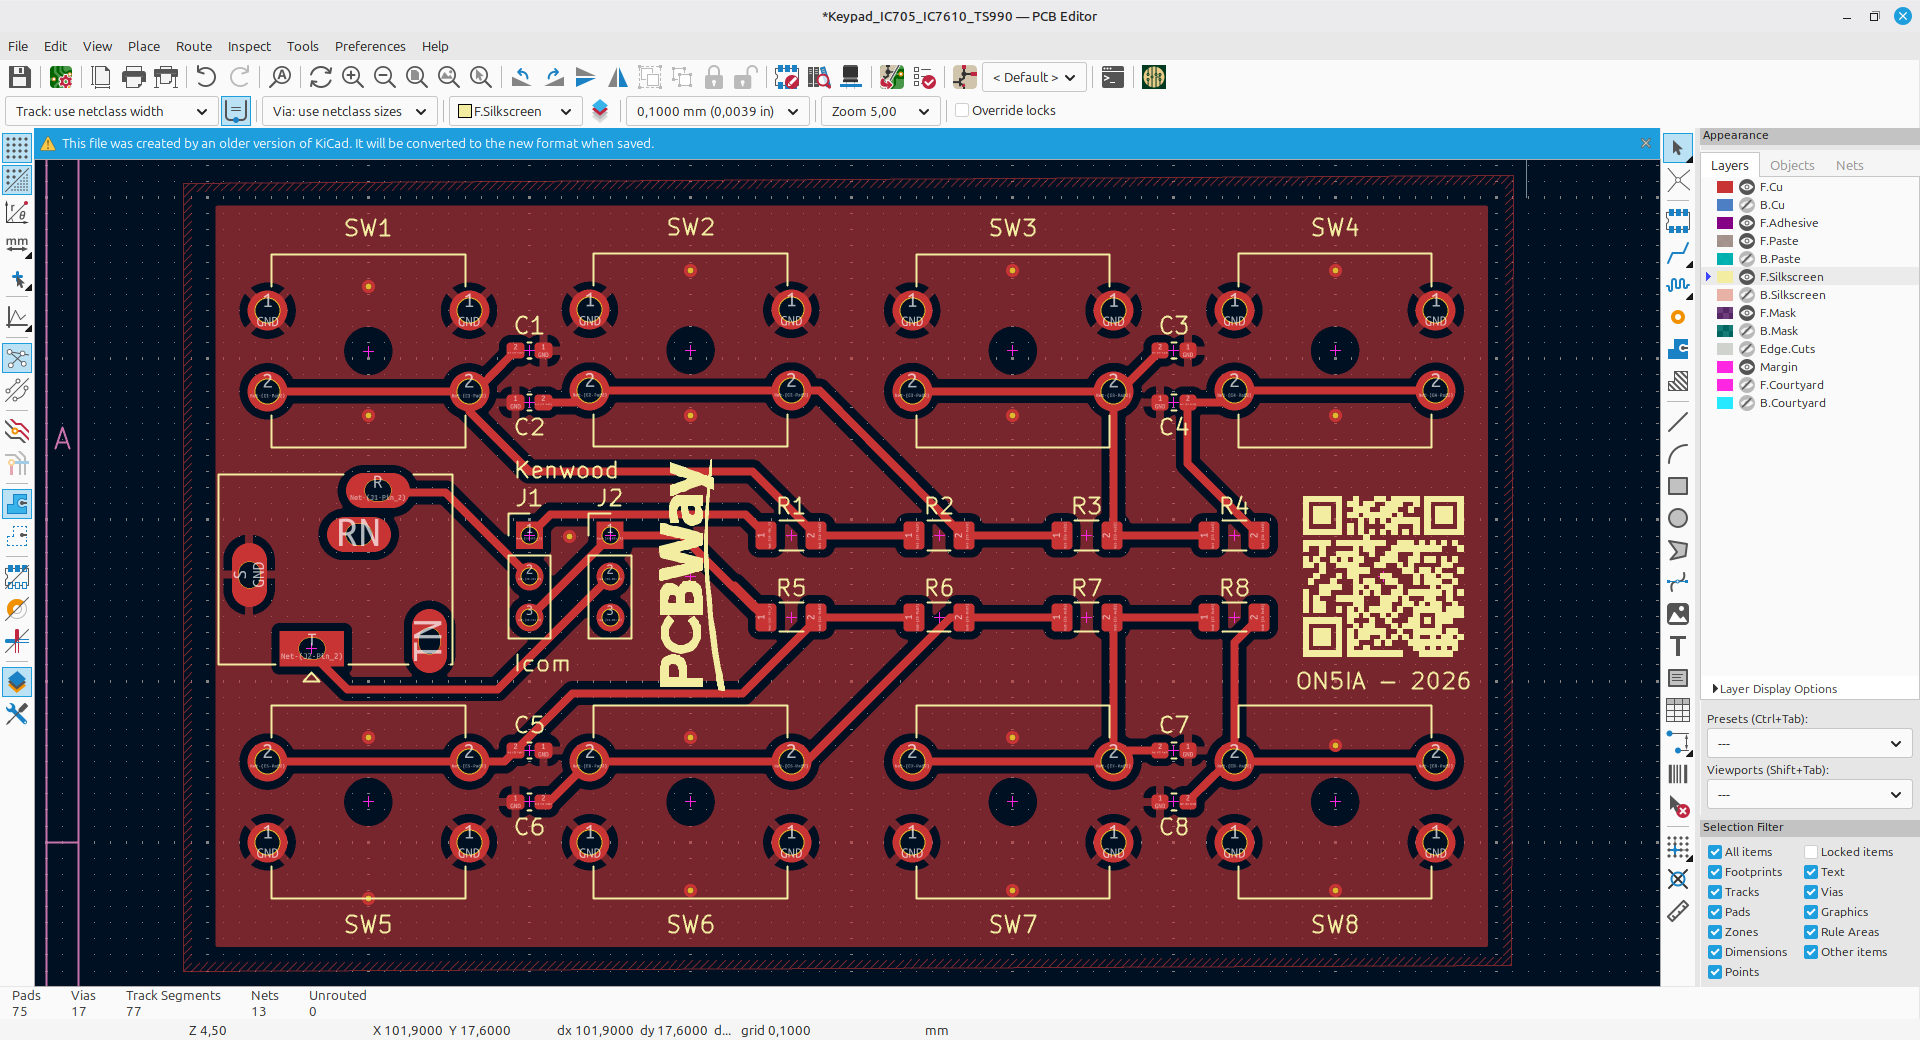
The keypad PCB was designed in KiCad, which has become the default choice for a lot of hobbyists and many professionals as well. It is powerful, and it encourages good habits, but it does not magically solve manufacturing reality for you. You still need to think like a board house at least part of the time.
When I present KiCad workflows at radio clubs, I always come back to the same point: PCB design and PCB manufacturing are tightly linked. Trace widths, drill sizes, solder mask clearances, and silkscreen placement all affect whether a board is easy to assemble and whether it holds up in real use.
For this project I kept the design intentionally straightforward:
- Standard FR-4 board material
- Through-hole components where mechanical robustness matters
- Clear reference designators and labels for educational use
- Mechanical alignment with an enclosure and front panel
None of that is exotic, but it does require repeatability. If you hand out PCBs to an audience of radio amateurs and makers, the quality becomes part of the conversation within seconds.
Working with PCBWay: practical, predictable, and well communicated
Ordering from PCBWay was smooth in the most engineering-friendly way possible: it was boring. I exported the Gerbers from KiCad, uploaded them, and the process made it easy to confirm the usual parameters before production.
What I appreciated most was clear communication. When you work with an international manufacturer, that matters more than flashy promises. Questions were handled quickly, and the manufacturing checks felt professional and transparent.
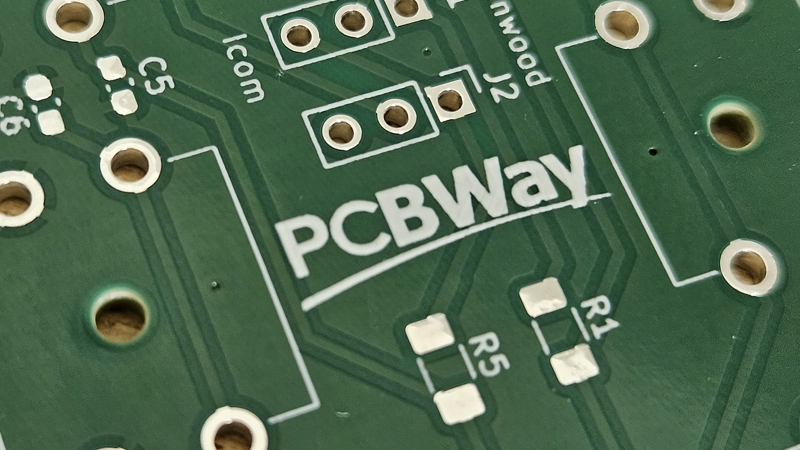
When the boards arrived, the first inspection was exactly what you want it to be: you do not find surprises. The manufacturing quality was consistent across the batch:
- Solder mask alignment looked clean
- Silkscreen was sharp and readable
- Drill holes and plating were consistent
- Boards were flat and mechanically predictable
For a keypad PCB that would be shown in front of an audience and assembled by different people, that consistency is not a luxury. It is the baseline.
Real-world use at Belgian events (where people actually look closely)
The real validation came when the PCBs left my bench and entered the community. These boards were used and distributed during several KiCad-related moments where I was speaking or demonstrating:
- KiCad presentation at radio club Midden-Limburg (MLB) in Genk
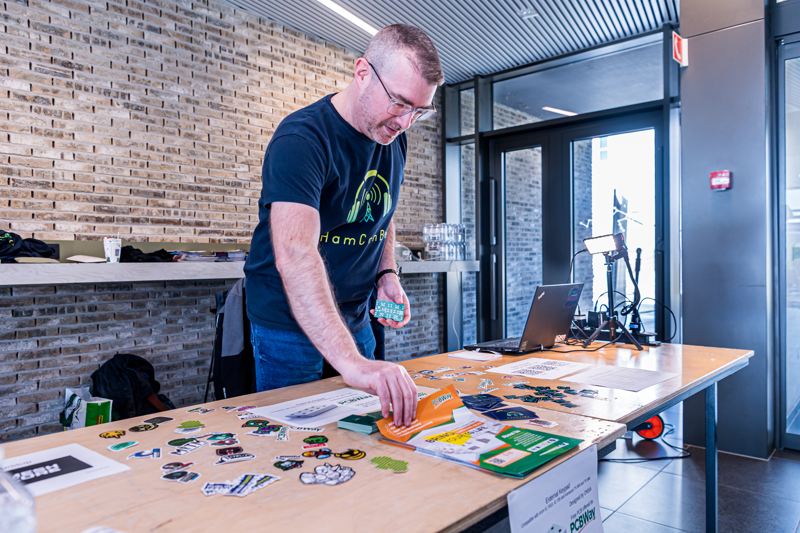
- Demo stand at HamCon Belgium in Leuven
- Keynote presentation at radio club OSA in Antwerp
- Keynote during the Algemene Vergadering of the UBA in Namur
At each event, participants received a real PCB, not just slides. That changes the tone immediately. Instead of abstract talk about layers and footprints, you can point at a real board and explain why you placed certain labels where you did, or why a connector footprint is oriented the way it is.
Because the boards were consistent, the discussions stayed focused on design decisions and workflow. I did not have to spend time apologising for manufacturing quirks or explaining why one board looks different from the next.
Practical hardware makes technical education better
One of the best parts of this project was seeing how much more engaged people become when they can hold a real board. That is true in any maker community, and it is especially true with radio amateurs. People want to inspect things. They compare notes. They take the board home and try to replicate the process for their own projects.
In that context, a manufacturer that delivers predictable results becomes more than a supplier. They become part of what enables the learning. This project ended up being a good example of international collaboration in practice: open-source tools, a Benelux user community, and a professional PCB manufacturer in China working together because the process is reliable and the communication is clear.
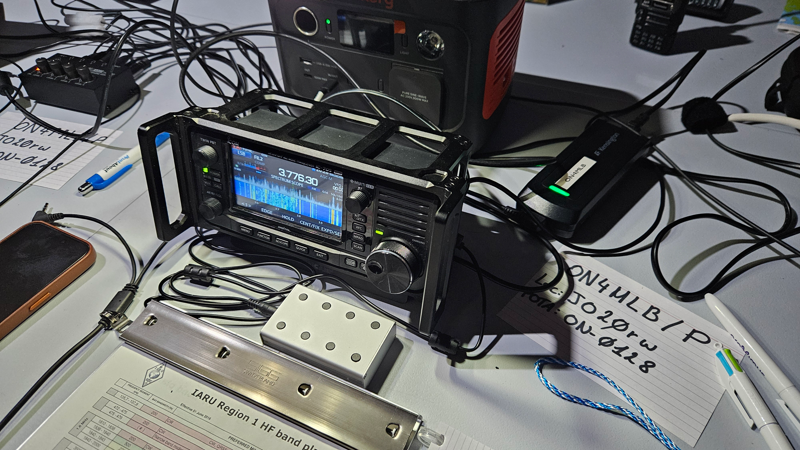
Why PCBWay is a good fit for makers and radio amateurs
Based on this project, PCBWay proved to be a good match for the way many of us work in the hobby and semi-professional space:
- You design in KiCad and want a frictionless way to go from files to boards
- You care about consistency because others will assemble or inspect your work
- You need communication you can rely on when something needs confirming
- You want a partner you can come back to for future batches
I do not look for a “cheap PCB supplier”. I look for a manufacturer I can trust when I am handing boards out at an event, or when I want to build a small batch without drama. For this keypad project, PCBWay delivered exactly that.
Conclusion
The Icom External Keypad project was never about marketing claims. It was about getting the fundamentals right: solid design, predictable manufacturing, and sharing what I learned with the community.
PCBWay’s manufacturing quality and professional handling of the order made it possible to focus on the engineering and the educational side, rather than troubleshooting. If you are working on a KiCad project and want it to move from screen to bench, whether that is for a personal build, a club workshop, or a public demo, PCBWay is worth considering for your next PCB run
If you made it this far, here is something extra
If you have read all the way to the end, you are probably more interested in building things than just reading about them. So here is something practical.
Build it yourself
I still have a number of Icom External Keypad PCBs left from this batch. If you would like to build one yourself, you are welcome to have a PCB. I only ask that you cover the postage costs. Just send me a mail and we will sort it out.
To help you get started, I have written a separate article with the full bill of materials and clear building instructions. It walks through the assembly step by step and fills in the practical details that would make this article too long.
You can find it here: Keypad BOM & Building Instructions.
Invite me to your club or event
If you are active in a ham radio club or maker group, I am also happy to give a talk or practical session about this project, KiCad, and the realities of getting PCBs made.
I can present in Dutch or English, and I am willing to travel as long as it is within roughly one hour driving distance from Brussels, Ostend, or Maastricht.
The slides I usually use are available here, so you can see what the session looks like: kicad_on5ia.pdf. (pw: kicad)
If this sounds interesting, feel free to contact me by email via the details on this site.
Thanks for reading, and even more so for building, experimenting, and sharing knowledge within the community.
73 de ON5IA